Darkroom notes · Any place
Why your blue-hour shots look grey
The sky after sunset is rich and deep to the eye, then flat and grey on the screen. Usually it is the timing, the exposure or the camera's colour guess, and all three are fixable.
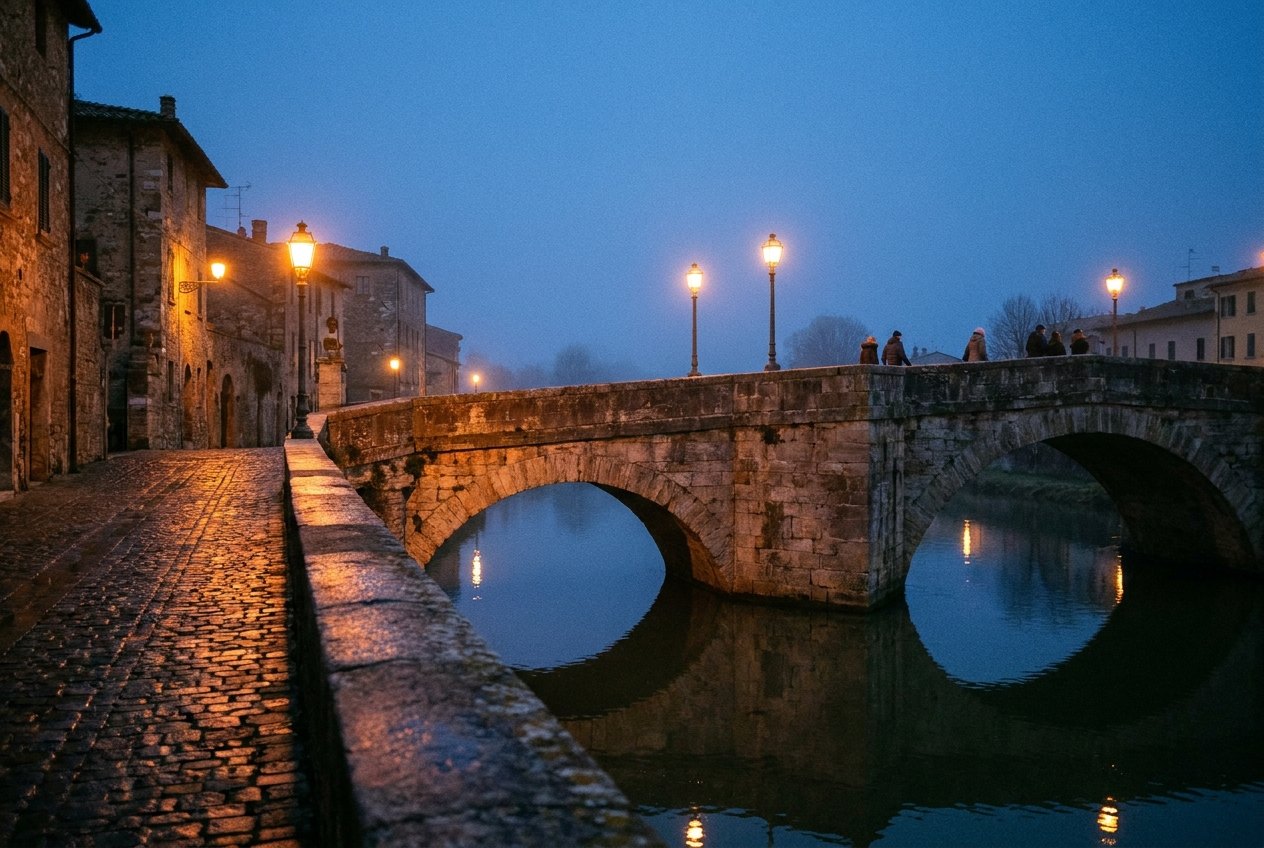
The sun goes down, the sky deepens to an ink-blue, the street lamps come on, and the town looks better than it has all day. You take the picture. On the screen it is a flat, grey-blue mess with smudgy lights. This is one of the most common disappointments in travel photography, and it has three usual causes: the timing, the exposure and the colour.
The blue starts later than you think
Blue hour is the stretch of twilight after sunset (and before sunrise) when the sun is below the horizon but still lighting the upper sky. The sky turns a deep, even blue, bright enough to show detail but dark enough for artificial lights to glow.
The mistake most people make is leaving too early. Right after sunset, the sky is still pale and the lamps look weak against it. The deep blue arrives a while later, and the best balance, with the sky and the lit buildings roughly equal in brightness, often lasts only ten or fifteen minutes. How long after sunset depends on where you are: near the equator twilight is brief, while far north or south in summer it can last a long time.
- Arrive before sunset and set up while it is still easy to see.
- Keep shooting every few minutes from sunset until the sky goes nearly black.
- Compare the frames afterwards. The best one is usually later than you expected.
What makes a blue-hour picture work
An empty sky at blue hour is just blue. What makes the picture is contrast between that cool sky and warm artificial light. Look for subjects that have both.
- Lit buildings. Floodlit churches, bridges and palaces. Check that the lights come on before the blue fades; some switch on late.
- Water. A river, canal or wet street doubles every light and adds colour to the bottom of the frame.
- Windows. Rows of lit windows in old streets give warmth and life.
- Traffic and trams. Moving lights become trails in a longer exposure.
Face the part of the sky that holds its colour longest. Just after sunset, the sky opposite the sun turns blue first, while the sunset side stays orange; later, the whole sky deepens. Grand canals and riversides such as the one at the Rialto Bridge work well because they give you water, lights and open sky at once.
Exposure, in plain words
A camera tries to make every scene look like average daylight. At dusk it sees a dark scene and brightens it, which washes the deep blue out to a pale grey and blows the lamps into white blobs. That is the grey look.
The fix is to tell the camera to make the picture darker than it wants to. On most cameras and phones there is an exposure compensation control, usually shown as a plus and minus scale or a sun icon you can slide. Pull it down by a step or so and the sky turns back into the blue you saw, while the lights keep their shape.
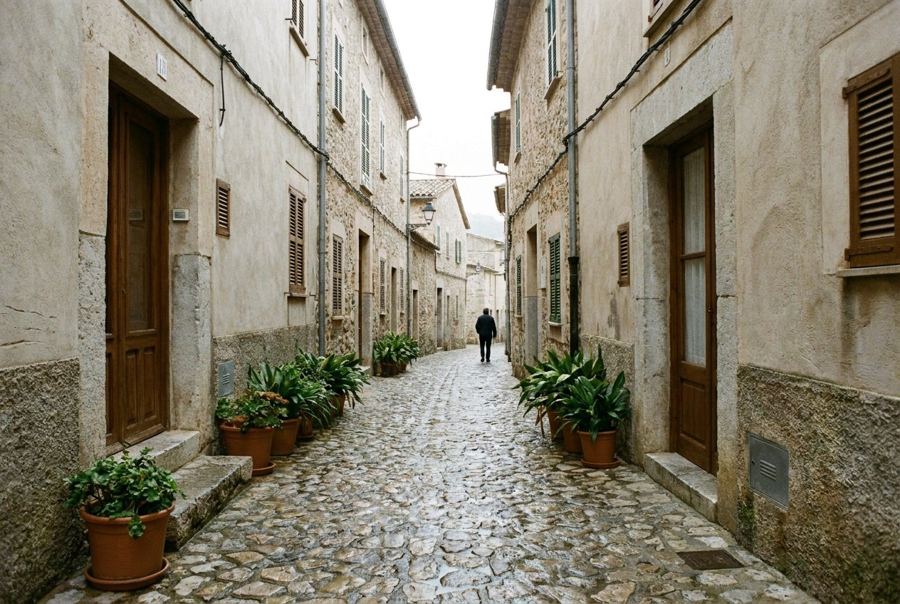
Watch the bright parts, not the dark ones. If the lamps and lit windows are pure white with no detail, the picture is too bright. If the shadows go black, that is fine: it is evening, and black shadows look like evening.
Darker light also means slower shutter speeds. A phone night mode or a camera's stabiliser can handle a lot, but for the cleanest pictures, steady the camera on a wall, a rail or a small support, and use a timer so pressing the button does not shake it. Where tripods are welcome, this is the hour to use one; see the note on tripod rules before you bring it.
White balance without the jargon
Cameras also try to make light look neutral. At blue hour they get confused: the sky is blue, the lamps are orange, and the camera's automatic colour setting often tries to cancel both, giving a muddy, greyish middle.
You have three simple options.
- Use the daylight setting. Fixing the colour to daylight keeps the sky blue and the lamps warm, close to what you saw.
- Cool it down slightly. A setting meant for indoor bulbs turns the whole picture bluer. Some people like this; it can look cold.
- Fix it later. If your camera can save raw files, you can set the colour afterwards without any loss.
On a phone, tapping the screen to set exposure and sliding the brightness down often fixes colour as well, because the camera stops trying to brighten and neutralise the scene.
Stay out longer
The most useful advice is also the simplest: do not pack up when the colour seems to fade. Your eyes adjust to the dark and hide how much light is left. The camera, used well, still sees a deep blue sky long after you think it is gone.
In cities, the late blue is often when the scene is at its best. The day crowd has gone to dinner, the bridges and squares are quieter, and the lights reflect cleanly in the water. In the far north or south in summer, the blue can last for an hour or more and merge into the dawn; at the Mont-Saint-Michel bay or on the canals of Venice, a long summer twilight gives you time to try several viewpoints.
A short checklist for tonight
- Be in place before sunset, with the lit subject chosen.
- Pull the exposure down until the sky looks like the sky.
- Set the colour to daylight, or save raw files.
- Steady the camera on something solid and use the timer.
- Keep shooting at intervals until the sky is nearly black.
- Bring a warm layer. Twilight is short; standing still in it feels long.
Do those six things and the grey blue-hour picture becomes rare. What you get instead is the evening you remember: a deep blue sky, warm lamps, and their reflections shaking gently on the water.